DIY Painted Floor Patterns: Transform Your Space on a Budget
We’re excited to guide you through creating stunning DIY painted floor patterns that transform your space without breaking the bank. First, choose durable, low-VOC paints and a primer suitable for your floor type—be it hardwood, concrete, or laminate. Next, we’ll explore designing your pattern; consider the scale and color to enhance the room’s overall atmosphere. With the right tools and a bit of elbow grease, you’ll apply your design, seal it for longevity, and maintain it with ease. Whether you opt for geometric chic or vintage elegance, these custom floors will surely reflect your unique style and elevate your home’s character. Stick with us to reveal further insights!
Choosing Your Materials

Selecting the right materials is vital for creating stunning painted floor patterns that last. We must choose products that not only achieve a beautiful finish but also guarantee durability and safety. First, let’s talk paint. Opt for floor paints specifically formulated for foot traffic. These paints are more resilient against wear and tear, providing a longer-lasting finish. Look for labels stating “non-slip” to keep your floors as safe as possible, especially in high-traffic areas.
Next, consider the primer. A good quality primer guarantees better adhesion of paint to the floor, which means your patterns will stay vibrant and intact longer. Make sure the primer is appropriate for the type of floor you’re working with, and it’s best if it’s low-VOC to keep your home environment healthy.
Selecting a Floor Type
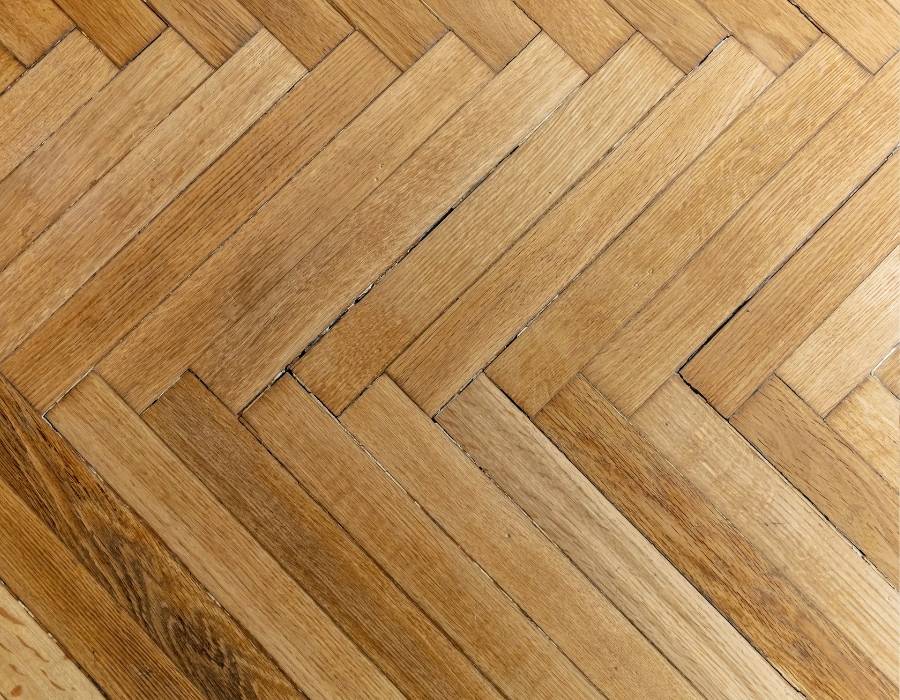
Before diving into your DIY project, it’s vital to decide on the type of floor that will best suit your painted patterns. The right choice not only enhances the design but guarantees durability and safety. Let’s explore some popular options.
Hardwood floors are a classic choice. They offer a smooth, durable surface that’s ideal for painting. However, confirm the wood is properly sanded and primed to avoid splinters and uneven textures, which can be hazardous.
Concrete floors are another excellent option. They’re incredibly resilient and provide a sleek, modern look. Make certain the concrete is fully cured and sealed to prevent moisture damage and guarantee a safe, non-slip surface.
Laminate flooring can also work, though it requires a bit more care in preparation. It’s important to use a high-quality primer that adheres well to laminate surfaces to prevent peeling and tripping hazards.
Vinyl is a forgiving and inexpensive choice, but it must be in good condition. Avoid painting over old, peeling vinyl to guarantee the surface remains safe and smooth.
Choosing the right floor type is about balancing aesthetics with functionality and safety. Once you’ve made your selection, you’re ready to move on to designing your pattern, knowing your foundation is solid and secure.
Designing Your Pattern
Now that you’ve chosen the ideal floor type for your project, let’s focus on creating a stunning painted pattern that reflects your personal style and complements your space. Designing your pattern is not just about aesthetics; it’s also about making certain it’s practical and guarantees safety in your daily environment.
First, consider the scale of your pattern. Large, bold designs can make a room feel more spacious, while smaller patterns might suit a cozy area better. Think about how the design will flow from one room to another, maintaining a cohesive look throughout your home.
Next, choose colors that not only appeal to you but also promote a safe and calming atmosphere. Opt for paints with low VOCs to maintain air quality. Lighter colors can make a room feel airy and more open, enhancing both mood and perceived space.
Preparing the Surface
To guarantee your painted floor pattern adheres well and looks flawless, we need to thoroughly prepare the surface. This prep work is essential and can make or break your project’s success. Let’s walk through the fundamental steps to prepare your floor for painting.
First, we’ll start by cleaning the floor meticulously. Remove all dirt, dust, and grime as these can prevent the paint from sticking properly. Use a vacuum followed by a damp mop to ascertain the surface is spotless.
Next, we need to sand the floor. This step helps to roughen up the finish, allowing the paint to adhere better. Use a medium-grit sandpaper and sand evenly across the entire surface. It’s important to wear a mask during this process to avoid inhaling dust.
Finally, apply a good quality primer. This acts as a base coat and greatly enhances paint adhesion and longevity. Choose a primer that’s suitable for the type of floor you’re working on, whether it’s wood, concrete, or another material.
- Safety Tip: Always wear protective gear during preparation, including gloves, masks, and safety glasses.
- Attention to Detail: Ascertain every corner and edge is well-prepared to avoid peeling later.
- Check for Damages: Repair any cracks or chips in the floor before you begin painting.
Gathering Necessary Tools
With our floor now ready for painting, we’ll need to gather a few key tools to bring our creative vision to life. First, you’ll want a high-quality paintbrush and roller. These are vital for smooth applications and sharp edges. Opt for brushes with synthetic bristles and a roller with a medium nap, which are best for latex paints.
Next, don’t forget a sturdy paint tray and liners for easy cleanup. It’s also wise to have painter’s tape on hand to create clean lines and protect areas you don’t want painted. For those intricate designs, consider purchasing stencils which can be found at most craft stores, or make your own for a personalized touch.
Safety is paramount, so confirm you have protective gear. Wear gloves to protect your hands from paint and solvents, and goggles to shield your eyes from splashes. A respirator mask is also essential, especially in poorly ventilated spaces, to avoid inhaling fumes. Finally, keep a damp cloth nearby to quickly wipe up any spills or splatters, maintaining a clean and safe working area.
With these tools ready, we’re all set to start transforming our space with beautiful painted floors.
Applying Primer and Base Coat
Before diving into the vibrant world of floor patterns, we must lay a solid foundation with a quality primer and base coat. Let’s make certain that our floor is ready to become a masterpiece.
Firstly, it’s essential to choose a primer specifically designed for your type of floor. Whether you’re working with wood, concrete, or linoleum, the right primer will improve adhesion and make your paint job last longer. Once you’ve selected the appropriate primer, we need to apply it evenly across the floor. Use a roller for larger areas and a brush for edges and corners. Allow the primer to dry completely, which typically takes about 24 hours.
Next, we’ll apply the base coat. This layer sets the stage for your decorative patterns and should be a neutral color that complements your design. Here’s a quick checklist to help us get the best results:
- Make certain the room is well-ventilated. Open windows or use a fan.
- Use painter’s tape to protect baseboards and any areas not being painted.
- Mix the paint thoroughly before application to avoid color inconsistencies.
After applying the base coat, give it enough time to dry before moving on to painting your design. This patience pays off with a beautifully smooth canvas for your creativity.
Painting the Design
Now that our base coat has fully dried, we can release our creativity and start painting the design. First, let’s verify we’re working in a well-ventilated area to keep the air fresh and safe. It’s also smart to keep our protective gear on—safety goggles and masks aren’t just for show!
We’ll begin by carefully placing our stencil or using painter’s tape to mark out the pattern. Make sure each piece is securely adhered to avoid paint bleeding under the edges. For painting, we’ll use a small roller or a stencil brush—these tools help control the amount of paint and reduce drips.
Dip your brush lightly in the paint, then dab off the excess on a paper towel. Apply paint using a stippling motion for a clean, even finish. If you’re using multiple colors, be sure to let the paint dry between layers to keep the colors vibrant and distinct.
Sealing the Paint
Once your design is fully painted and dry, it’s crucial to seal the floor to protect your artwork. Sealing not only preserves the beauty of your paint job but also makes the surface more durable and easier to clean. Let’s take a look at how we can effectively seal our painted floors.
Firstly, choose the right type of sealer. A water-based polyurethane is a great option as it’s less toxic and doesn’t yellow over time, guaranteeing your colors stay true. Make sure the area is well-ventilated before you begin the application process.
Applying the sealer is a straightforward task. Use a clean roller or brush to apply thin, even coats. Here are a few key points to guarantee ideal results:
- Apply Multiple Coats: Typically, three coats will suffice, allowing each layer to dry thoroughly between applications.
- Ensure Good Ventilation: Keep windows open to avoid inhaling fumes.
- Work in Sections: This prevents stepping on wet sealer and guarantees even coverage without missed spots.
Allow the final coat to cure for at least 24 hours before walking on the surface. This patience pays off with a beautifully sealed, long-lasting finish that keeps your floors looking fabulous.
Maintenance and Care
After sealing your painted floor, regular maintenance will guarantee it continues looking its best. We’ll show you how to care for your floor safely and effectively, ensuring durability and preserving its beautiful appearance.
Firstly, sweep daily with a soft-bristle broom to remove dirt and grit that can scratch the surface. For deeper cleaning, we recommend using a microfiber mop slightly dampened with warm water and a mild, pH-neutral cleaner specifically designed for painted floors. It’s important to avoid harsh chemicals and abrasive tools, as these can damage the finish and color of your flooring.
Spills should be wiped up immediately to prevent staining. Use a soft, absorbent cloth to blot the spill; rubbing can push the liquid deeper into the paint, causing potential damage. For tougher stains, a mixture of baking soda and water can be gently applied with a soft sponge in a circular motion.
Lastly, consider using area rugs in high-traffic areas. This not only adds to your decor but also protects the painted surface from excessive wear and tear. Make sure to choose rugs with non-slip backings to maintain a safe environment.
Inspiration and Ideas

Exploring creative patterns and color combinations can transform your floor into a stunning focal point of any room. Let’s plunge into some fresh ideas that’ll inspire your next DIY project. Whether you’re aiming for a bold statement or a subtle enhancement, the possibilities are endless.
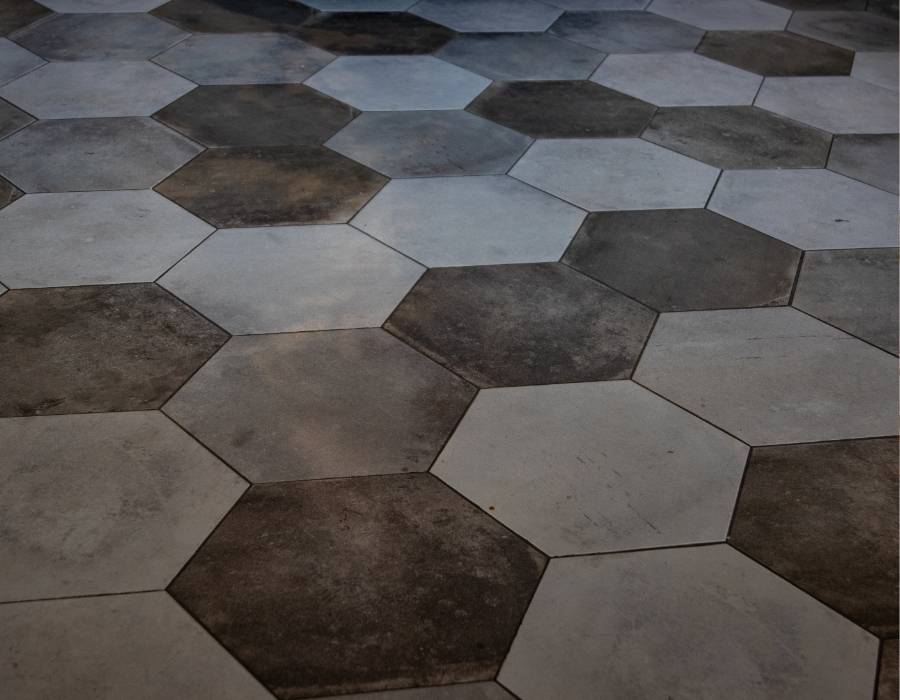
Reflect on the overall theme of your space. Do you prefer a modern, minimalist look, or are you drawn to rustic charm? This initial decision will guide your pattern choice. Geometric shapes offer a sleek, contemporary vibe, while stenciled floral designs can add a touch of vintage elegance.
Here are a few popular patterns to contemplate:
- Chevron: This dynamic zigzag pattern adds energy and movement to any room.
- Herringbone: Similar to chevron but with a break at each section, creating a more refined, classic appearance.
- Moroccan tiles: These intricate patterns bring an exotic flair, perfect for an eclectic or global-inspired room.