Crafting Unique Wall Art From Everyday Objects
We’re here to show you how to turn everyday objects into stunning wall art that truly stands out. Imagine transforming colorful fabric scraps into vibrant tapestries or repurposing old kitchen utensils into rustic art pieces. By using items like wooden spoons, worn-out magazines, or even old buttons, we can create pieces that not only enhance our decor but also tell fascinating stories. We’ll guide you through selecting the right materials, arranging them creatively, and securing them safely. The results are not only visually appealing but also offer a satisfying way to recycle materials. Let’s discover how these unique art pieces can bring personality to your space.
Exploring Materials Around You

When we think about creating wall art, it’s easy to overlook the everyday materials around us. But let’s explore the possibilities these items offer. We’ve got a wealth of resources right at our fingertips—items we often consider mundane can transform into stunning displays of creativity.
Think about the colorful fabric scraps or old clothes we’ve stashed away. These can be cut, twisted, and woven into fabric tapestries or framed textile art. We’re not just recycling; we’re making something visually appealing and safe, avoiding the risks associated with more hazardous materials.
What about those wooden kitchen utensils that are too worn for cooking? With a bit of sanding to smooth out rough edges—making sure they’re safe to handle—we can arrange them into a rustic piece of art. It’s all about seeing the potential in what we already own.
And let’s not forget about nature. Stones, leaves, and branches can be collected during a walk and arranged into a beautiful, organic mosaic. It’s essential, though, to verify that everything is clean and securely attached, keeping our spaces safe.
Designing With Old Magazines
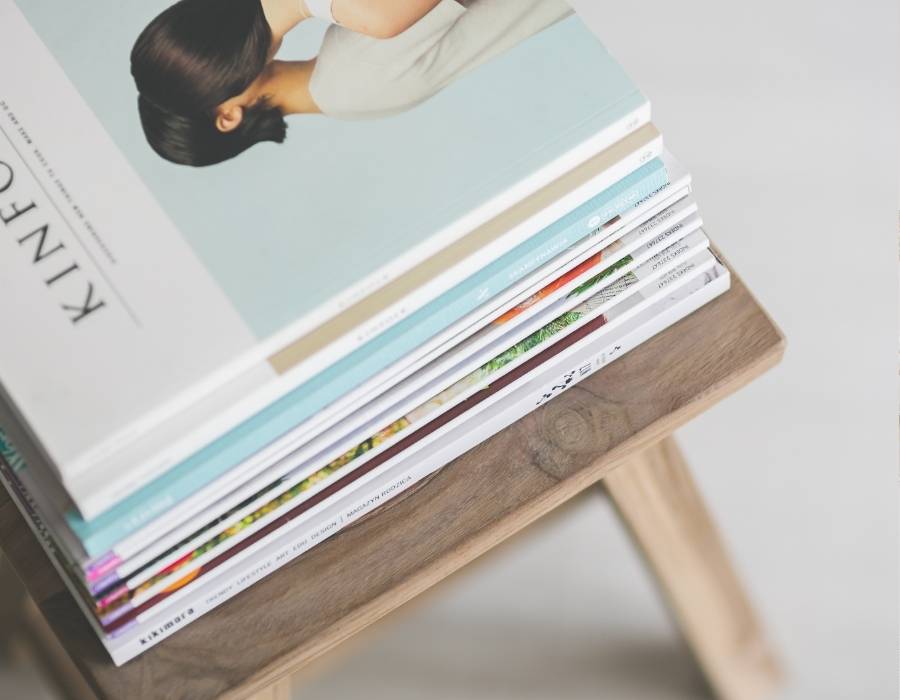
Amid the stacks of old magazines you might have at home, there lies incredible potential for eye-catching wall art. We can transform these colorful pages into stunning, personalized decorations that reflect your unique style and creativity. Let’s immerse ourselves in the process, making certain it’s safe and enjoyable.
First, we’ll select magazines with vibrant, interesting imagery. Look for pages with solid colors or exciting patterns that catch your eye. It’s best to avoid using any pages with personal information or sensitive content.
Next, we’ll cut out shapes or strips from these pages. You can create geometric patterns, silhouettes, or even intricate mosaics. For cutting, always use safety scissors, especially if involving younger family members in this fun activity.
Once you have your pieces, arrange them on a large piece of backing paper or a canvas. Experiment with layouts until you find one that pleases you. To adhere the magazine pieces, use a non-toxic glue stick or double-sided tape. This method ensures no harmful fumes and keeps the process clean and simple.
Repurposing Kitchen Items
Transforming kitchen items into wall art not only clears clutter but also infuses your space with a touch of personality. Let’s explore how we can creatively repurpose those everyday kitchen items that have been gathering dust into visually striking and safe décor.
Here are some enthralling ideas to get us started:
- Old Graters become interesting light fixtures. Place a low-wattage bulb inside to create a soft, textured glow.
- Wooden Spoons: Paint them or burn designs into the handles for a rustic wall arrangement.
- Tea Cups: Securely mount individual cups or a set in a shadow box as a charming 3D display.
- Colanders: They can double as whimsical planters or as lampshades casting unique patterns with their perforations.
- Cutting Boards: Group various shapes and sizes, and add inspirational quotes or food-related sayings for a kitchen-themed gallery wall.
We’re ensuring safety by using secure mounting techniques and recommending low-heat lighting options to prevent any hazards. By repurposing these items, we’re not just decorating; we’re reducing waste and adding stories to our walls. Let’s get creative and transform our kitchens into art galleries!
Artistic Uses for Old Buttons
Diving into the colorful world of old buttons, we find a treasure trove of artistic potential. Each button, whether vibrant or subtly toned, holds a story that can contribute to a unique piece of wall art. When we group these tiny artifacts by color or size, they begin to form a cohesive artwork that’s not only visually stunning but also rich in history and charm.
We can arrange buttons on a canvas to create everything from abstract designs to detailed landscapes. Imagine a sunset over a rolling hillside, each segment crafted from buttons that blend seamlessly into a gradient of colors. For those of us who prefer geometric patterns, arranging buttons in precise, organized shapes can transform a simple idea into a sophisticated display.
Safety is a priority when handling small items like buttons, especially in households with curious little ones or pets. We make certain all buttons are securely fastened to the artwork, using appropriate adhesives that hold them firmly in place. This way, we not only craft something beautiful but also make certain it’s stable and safe for display, adding peace of mind to our creative endeavors.
Crafting Techniques and Tips
How can we guarantee that our button artwork not only looks spectacular but also lasts for years to come? Let’s explore some essential crafting techniques and tips to verify durability and safety in your creations.
To make certain your button wall art remains a stunning and secure part of your decor, consider these steps:
- Choose the Right Base: Opt for sturdy materials like wood panels or thick canvases. These provide a solid foundation that won’t warp or bend over time.
- Use Safe Adhesives: Select non-toxic glues that are strong enough for the weight of the buttons. This ensures they stay in place safely, without harmful chemicals.
- Even Placement: Lay out your design beforehand to avoid overcrowding. An even distribution helps maintain structural integrity and visual appeal.
- Protective Coating: Apply a clear sealant over the finished piece. This guards against dust and fading, keeping your artwork vibrant and easier to clean.
- Regular Checks: Periodically inspect your art for any loose buttons or wear. Prompt maintenance can prevent accidents and prolong the life of your piece.
Displaying Your Finished Artwork

Once you’ve mastered the art of crafting durable and safe button wall art, the next step is to display your masterpiece effectively. Choosing the right location and method for hanging your artwork is essential not only for aesthetic appeal but also for safety.
Firstly, assess the weight of your wall art. Heavier pieces require sturdy hooks or anchors. We recommend using wall studs for the best support. If you’re unsure about the wall structure, using a stud finder is a wise choice before drilling or hammering.
Next, consider the height at which you’ll hang the art. Eye level is generally pleasing and guarantees that your art is the focal point of the room. However, if you’re hanging the piece in a child’s room, lower it to their eye level to enhance their enjoyment and interaction with the art.
Lastly, confirm that the area around your artwork is safe and free from obstacles. This prevents accidents and maintains the integrity of your display. Don’t forget to regularly check the stability of the hanging mechanism, especially in rooms with high foot traffic or where children play. This preventive measure keeps everyone safe and your art secure.