

Personalized Home Decor: DIY Monogrammed Items
We love bringing a personal touch to our homes with DIY monogrammed items, harnessing techniques that guarantee both beauty and durability. By selecting the right materials like natural fibers and non-toxic paints, and employing methods such as stenciling on textiles or glass etching, we create unique decor pieces that resonate with personal style. Whether it’s lavish embroidered cushions or elegantly frosted glassware, the key lies in precise, symmetrical monogramming to achieve a professional finish. With a little creativity and the right guidance, we can transform ordinary items into cherished keepsakes. Discover how simple additions can elevate your home’s aesthetic even further.
Choosing the Right Materials

Selecting the perfect materials is vital when starting DIY monogrammed home decor projects. We’ve got to make certain that the materials we choose are not only visually appealing but also safe and durable. Let’s explore some safe choices that’ll set our projects up for success.
First off, when picking fabrics, opt for natural fibers like cotton or linen. These materials are not only easy to handle but they’re also less likely to release harmful chemicals compared to synthetic fibers. If we’re painting or staining wood, it’s important to use water-based products. They’re less toxic and don’t emit strong, harmful fumes, making them a safer option for indoor environments.
For adhesives, let’s stick to water-based or non-toxic glue. These are safer for our health and often provide sufficient bonding power for home decor projects. Additionally, if we’re incorporating metal elements, choosing stainless steel or coated materials can prevent rust and reduce exposure to potential toxins.
It’s all about making smart choices that prioritize our safety while allowing us to express our creativity. By carefully selecting the right materials, we guarantee our DIY projects are both beautiful and secure.
Techniques for Monogramming
Now that we’ve chosen the right materials, let’s plunge into the techniques for monogramming that will bring our home decor projects to life. Monogramming can be both a fun and fulfilling way to personalize your environment safely and stylishly.
Firstly, consider the layout of your monogram. Traditional formats often use three initials, with the last name’s initial larger in the center. However, you’re free to experiment with single or two-letter monograms for a modern twist. Make sure the placement is centered and symmetrical for best results.
Next, we’ll need to transfer our chosen design onto the material. You can use transfer paper or a water-soluble pen to mark your design directly onto the fabric, ensuring it’s visible but won’t permanently stain. It’s essential to keep safety in mind by choosing non-toxic markers.
For the actual monogramming, we have several techniques. Hand embroidery is the most personal and traditional method. Start with a simple backstitch or satin stitch, ensuring your hand movements are steady and your stitches are even. If you’re short on time or prefer a more uniform look, using a sewing machine with a monogramming function could be more practical and equally effective.
Decorating Textiles
Moving from monogramming to decorating textiles allows us to further enhance our home decor. By adding unique designs to fabrics, we can create personalized touches that truly make our spaces our own. We’ll explore safe, effective techniques that don’t compromise on style.
First, choose your fabric wisely. Natural fibers like cotton or linen are not only durable but also easier to work with when applying paints or dyes. Before starting, verify the fabric is clean and prepped, which helps in achieving a smoother finish.
For painting, we recommend using fabric-specific paints, as they adhere better and last longer, even after multiple washes. Always test the paint on a small, hidden section of the textile to check for color fastness and reaction.
Stenciling is a fantastic method for those of us not confident in freehand drawing. It’s simple: secure the stencil onto the fabric, apply a thin layer of paint, and gently remove the stencil right away. This technique keeps lines crisp and clean.
Lastly, always iron the decorated fabric on a low setting to set the design. This step ensures our beautiful creations remain vibrant and intact, adding a professional touch to our personalized home decor.
Monogramming Glassware

Shifting our focus to monogramming glassware, we immerse ourselves in a chic way to personalize your dining experience. Adding monograms to your glasses isn’t just about aesthetics; it’s a delightful way to make any gathering feel more special. Let’s explore how we can safely and beautifully customize your glassware.
First, you’ll need the right tools. Opt for a glass etching cream that is specifically designed for home use, ensuring it is non-toxic and safe for handling with basic precautions like gloves and a well-ventilated area.
Here’s how to achieve perfect monogrammed glassware:
- Design Selection: Choose a monogram design that reflects your style or occasion. You can create stencils using adhesive vinyl which is precise and reduces the risk of the etching cream running.
- Application: Carefully apply the etching cream over the stencil. Always follow the product’s specific instructions for application time and safety measures.
- Finishing Touches: After the appropriate set time, rinse off the cream with warm water. Peel off the stencil to reveal a crisp, frosted monogram.
This DIY project not only enhances your decor but also adds a personal touch that guests will admire. Safety and style go hand in hand with these straightforward steps, ensuring a successful crafting session.
Personalizing Wall Art
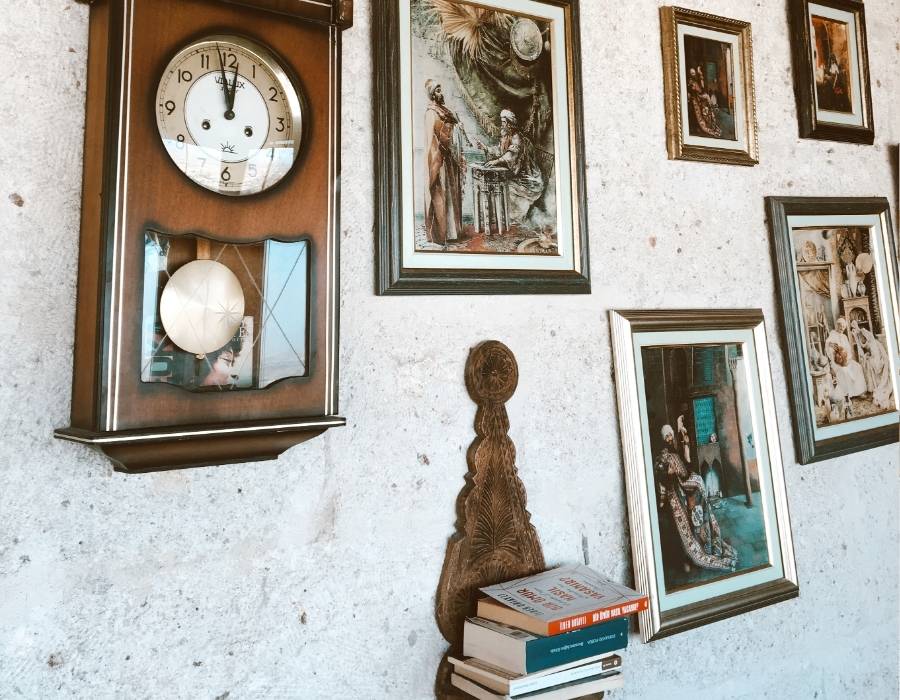
After exploring the art of monogramming glassware, we turn our attention to another exciting DIY project: personalizing wall art. This creative endeavor lets us infuse our spaces with a touch of personal flair, making each room truly reflective of our style.
We start by selecting a canvas or a wooden panel as our base. Safety is key, so make certain that your workspace is well-ventilated and that you’re using non-toxic paints or markers. If you’re planning on painting, sketch your monogram design lightly with a pencil. For those preferring a less permanent option, vinyl decals are a great choice and they’re easily adjustable during the process.
Next, choose colors that complement your room’s decor. Applying a base coat of paint guarantees that your monogram pops against the background. Once dry, carefully paint or affix your monogram. Adding layers of clear acrylic sealer not only enhances durability but also gives your artwork a professional finish.
Finally, it’s time to hang your masterpiece. Use appropriate wall anchors and hooks to securely display your art. This not only prevents accidents but also helps maintain the integrity of your wall.
Personalized wall art transforms your space and showcases your unique identity, all while guaranteeing a safe and enjoyable crafting experience.
Maintenance and Care Tips
Now that you’ve created your personalized wall art, let’s plunge into keeping it in pristine condition. Proper maintenance not only extends the life of your decor but also guarantees it remains a focal point in your home. We’ve got some handy tips that’ll help you along the way.
Here are three essential care tips:
- Avoid Direct Sunlight: Direct exposure can cause the colors of your monogrammed items to fade over time. Position them where sunlight won’t directly hit, maintaining the vibrancy of the colors for years.
- Dust Regularly: It might sound simple, but regular dusting prevents buildup that can embed in the textures of your decor, especially if you’ve used fabrics or intricate designs. Use a soft, dry cloth to gently wipe the surface.
- Handle with Care: When moving or rearranging your wall art, always lift it from the base or frame to prevent any strain on the materials. This prevents potential warping or damage, keeping the structure intact.


